Nailtopia Maven Minimal Waves Nail Art
Hey, Polished Peeps! I’m back with another nail art post! I’ve been a part of the Nailtopia Mavens group for a couple months now; they usually send us one polish every month and have us review it. For April, they sent over two polishes and asked us to create a nail design with them. So, here’s the minimal wave mani I came up with…
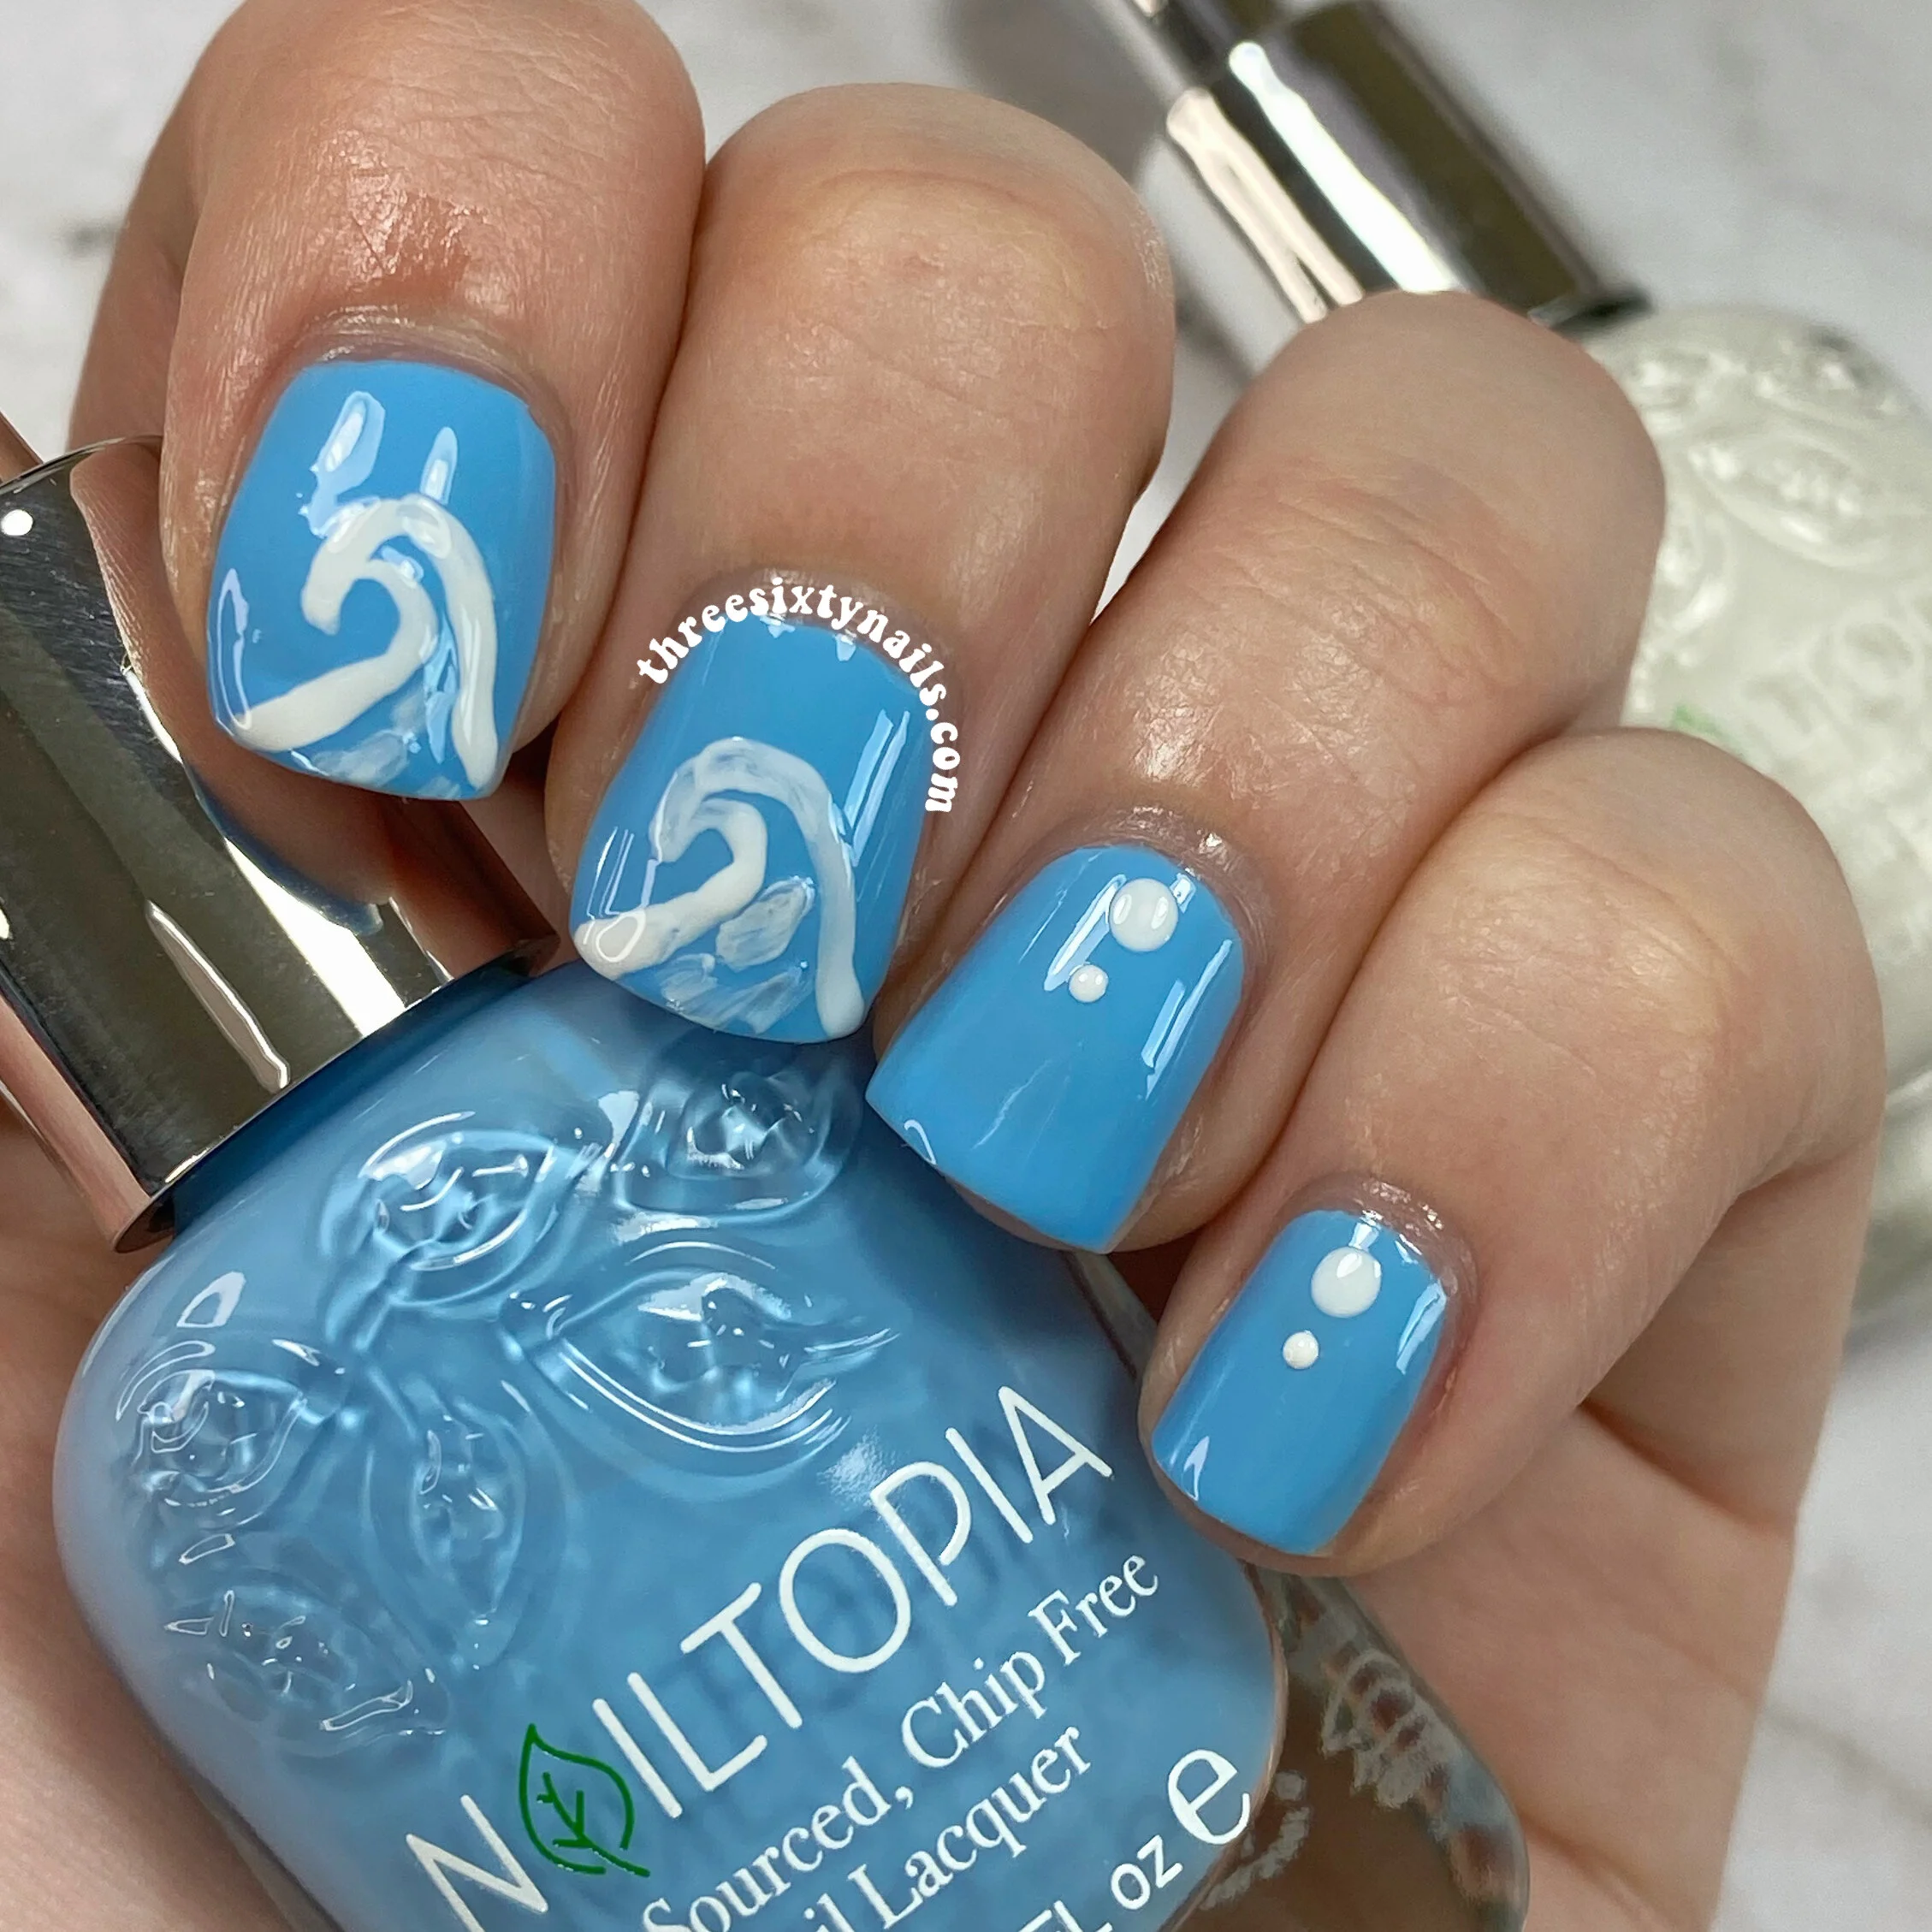
I really like this pretty blue for summer! And this design is great for beginners. Here is a polish list of Amazon Aff. links and a step-by-step for this design. Enjoy!
Products used in this mani…
“Be More Pacific” - Nailtopia
(!) Polishes in this post contain Acetyl Tributyl Citrate and Ferric Ammonium Ferrocyanide. Please visit my Journey to “Less-Toxic” Nail Polish page to learn more.
Nail art tutorial:
Step 1: After base coat, apply two coats of blue nail polish to all your nails. Let dry for 2-5 minutes.
Step 2: Once your base colors are fully dry, using a detailing nail art brush, dotting tool, or toothpick and a white polish, create a hook shape coming up from one side of your free edge. Start on the other side and swirl around another line to connect with the first hook shape. Look up wave photos or wave jewelry for reference if you need!
Step 3: Repeat Step 2 on one more nail.
Step 4: Add a couple swipes of white inside the wave shape outlines.
Step 5: Finish off your mani by adding two white dots near the cuticle of your remaining nails.
Step 6: After letting your designs dry for 2-7 minutes, apply top coat to protect your design. Let this dry fully and your mani is complete!
I’m so happy to be sharing more nail art posts with you this month. I always have so much fun putting these together!
Next week, I’m sharing a look back at some colorful floral nail art from my YouTube channel. See you then!
Have a polished rest of your day,