Easy Easter Egg Nails ft. Olive & June Spring 2021 + Easter Instagram Collab
Hi there, Polished People! Happy Easter! Today, I’m sharing my recent contribution to a huge Easter nail art collab over on Instagram, as well as the collab collage, a step-by-step for the mani, and a list of the polishes I used.
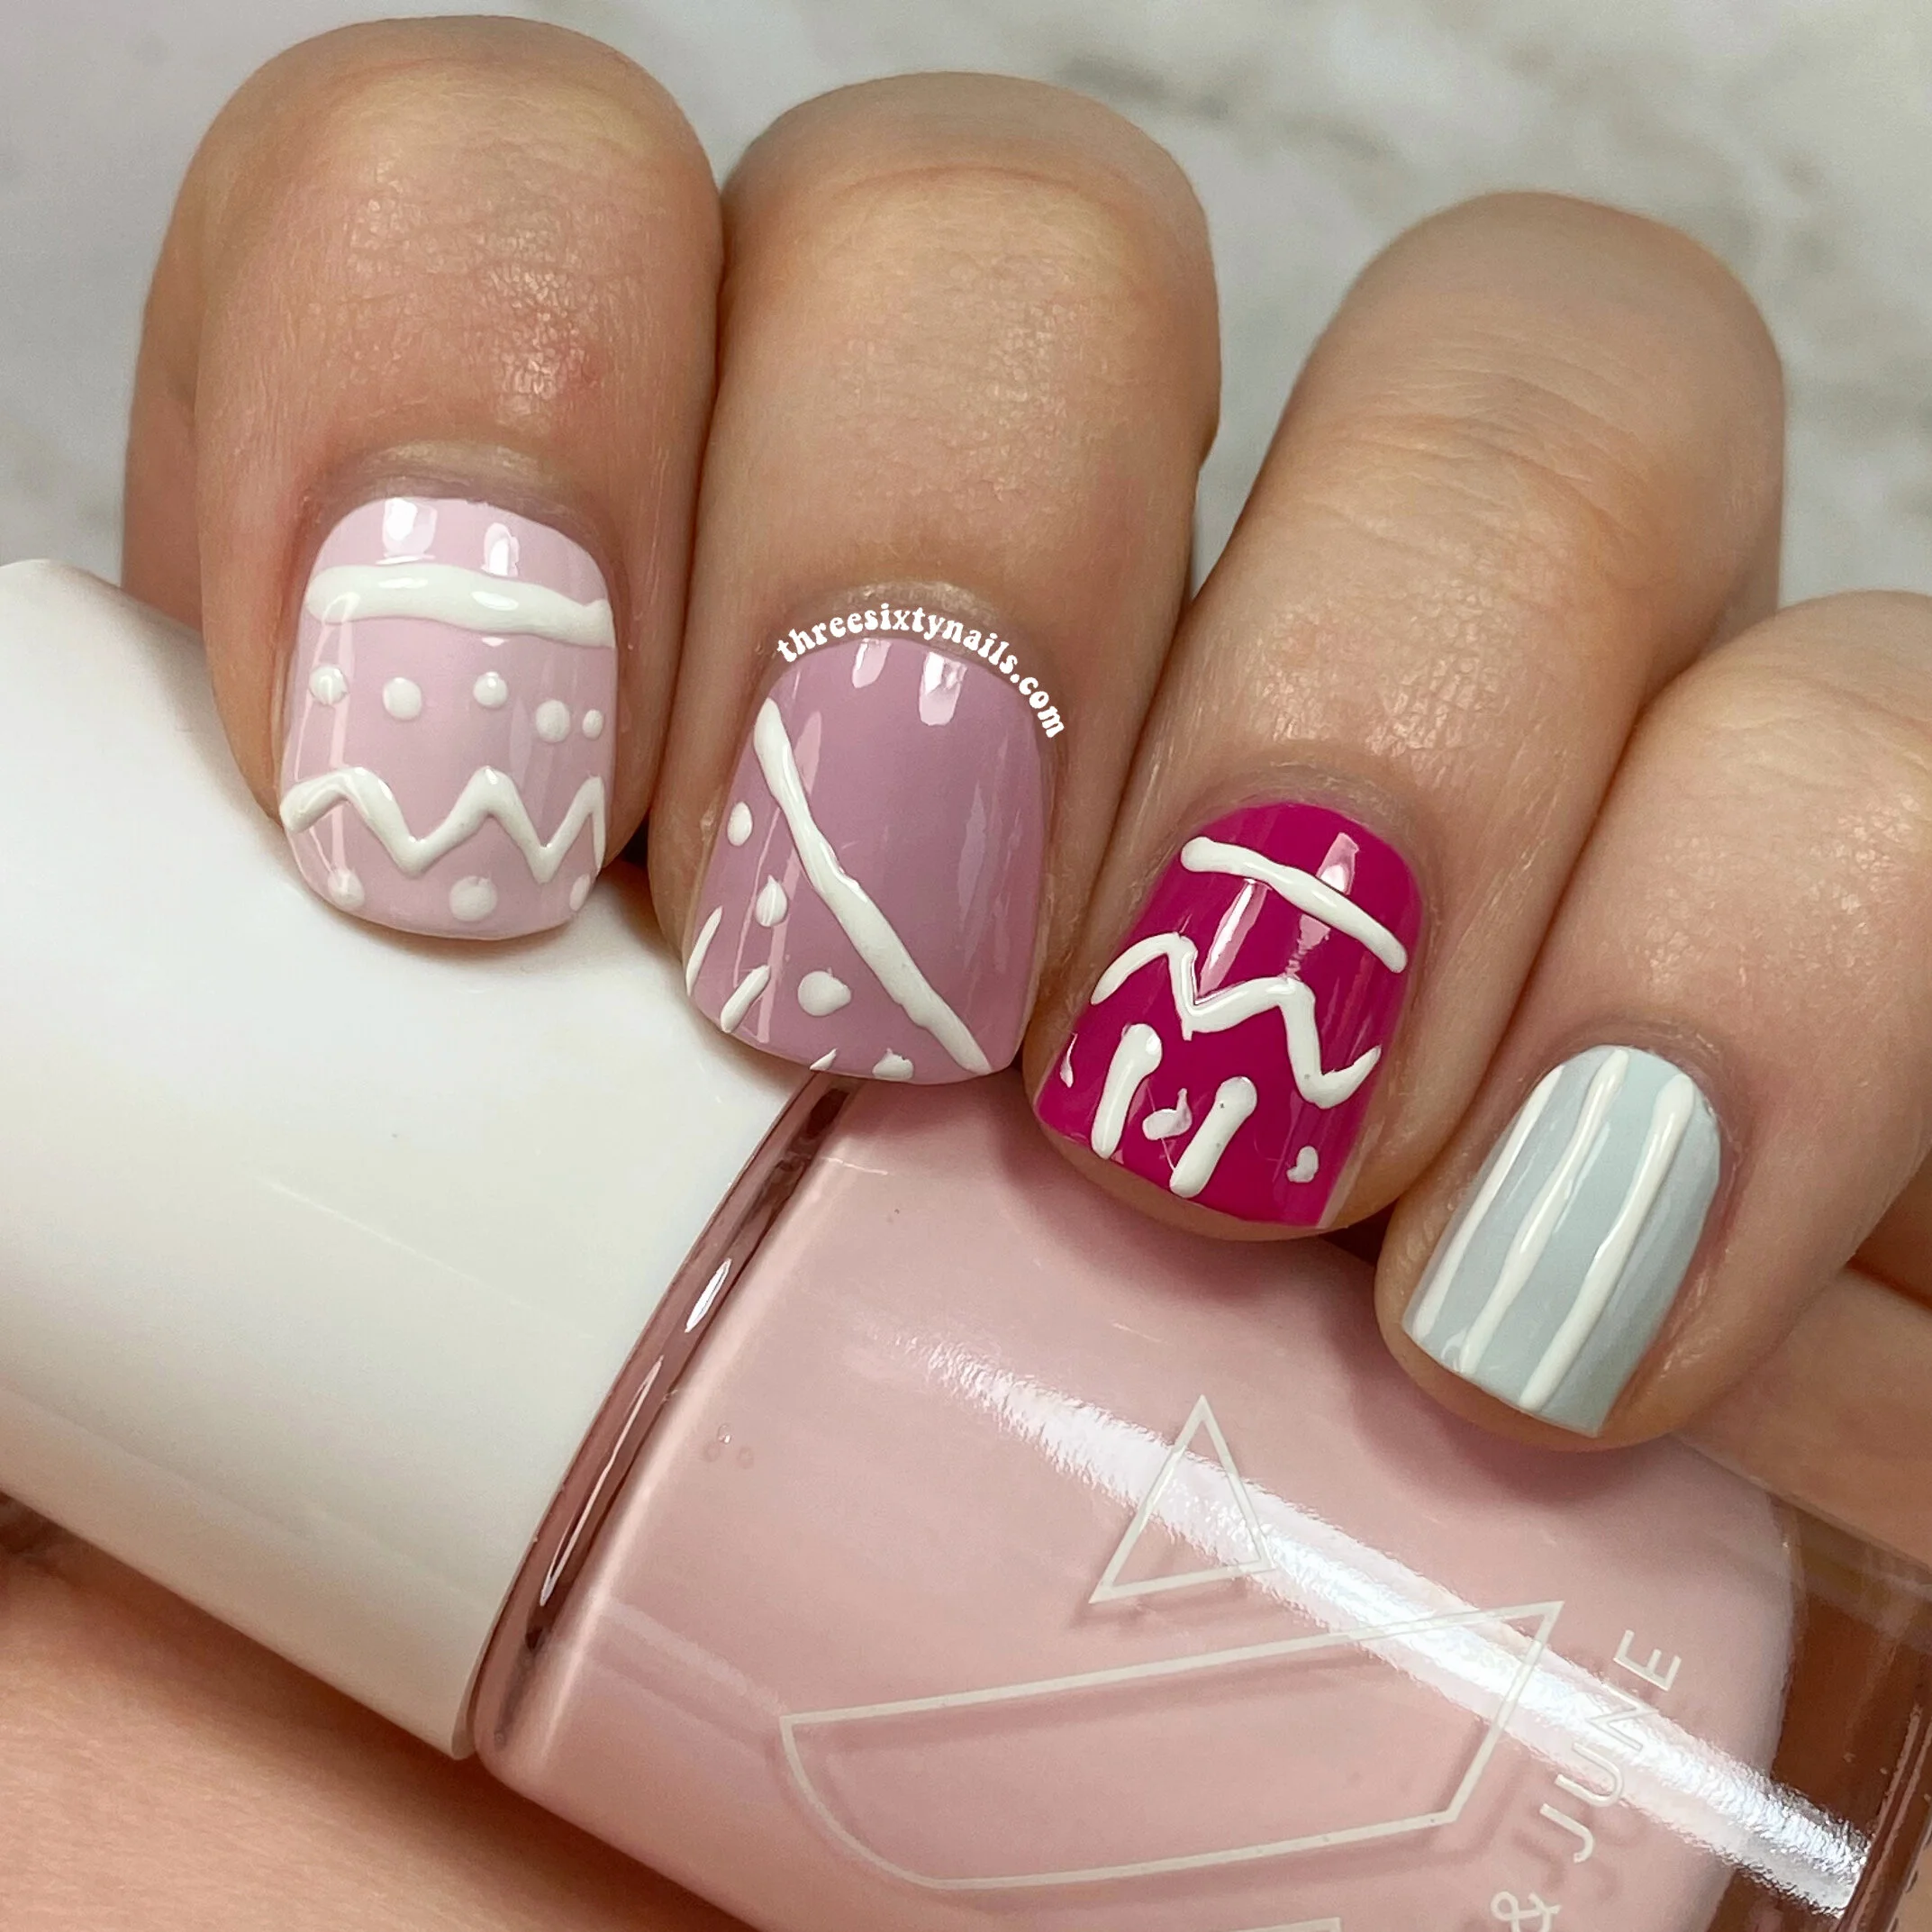
Here’s my recent Easter egg mani for this collab…
I love the colors of these mani! This is an entirely-Olive-&-June mani, featuring four colors from their new Spring 2021 Collection and their classic white. I did a single design like this in a tutorial video last year, so you can watch that here if you’re interested. I think this turned out so cute!
Here’s a look at the collage of manis from Instagram…
This was such a fun project to work on and everyone’s manis turned out so sweet. If you’re a nail artist over on the ‘gram, you should definitely join in with these huge collaborations. They’re every few months with a new theme and so, so many talented peeps get together to create beautiful manis. If you’re interested, definitely get in touch with @essieyall and @manicuredmoms to learn more!
Okay, onto the product list and step-by-step. Enjoy!
Products used in this mani…
Shop these shades and more through my referral link here for $10 off your first order of $50: http://fbuy.me/v/threesixtynails.
“Pink Sands” by Olive & June
“Cockatoo” by Olive & June
“Hibiscus” by Olive & June
“Angelfish” by Olive & June
“HD” by Olive & June
(!) Polishes in this post contain Acetyl Tributyl Citrate and Ferric Ammonium Ferrocyanide. Please visit my Journey to “Less-Toxic” Nail Polish page to learn more.
Nail art tutorial:
Step 1: After base coat, choose a pastel color palette of five different polishes and apply one color to each nail. Let dry 2-5 minutes between coats.
Step 2: Once your base color is fully dry, using a detailing nail art brush, dotting tool, or toothpick, draw Easter egg-inspired designs across each nail. Using a mix of stripes, dots, and squiggles can create such a cohesive and delicate look. Don’t be afraid to experiment with different shapes and use pictures of real Easter eggs as inspiration if you want!
Step 3: After letting your designs dry for 2-7 minutes, apply top coat to protect your design. Let this dry fully and your mani is complete!
I hope you enjoyed this post! The collab was very fun and it was nice to put together a cute mani for it. Also, if you want to see more of the Olive & June Spring 2021 Collection, you can watch my recent review video right here…
I’ll be back with another nail art post next week! I’ve been really enjoying these; I hope you’re liking the new blog content too. It feels so good to be back at my roots with these. As always, please let me know if you have any nail art requests or suggestions for future posts!
Wishing you and yours a fun and blessed holiday! 🐰🐣🌸
Have a polished rest of your day,


