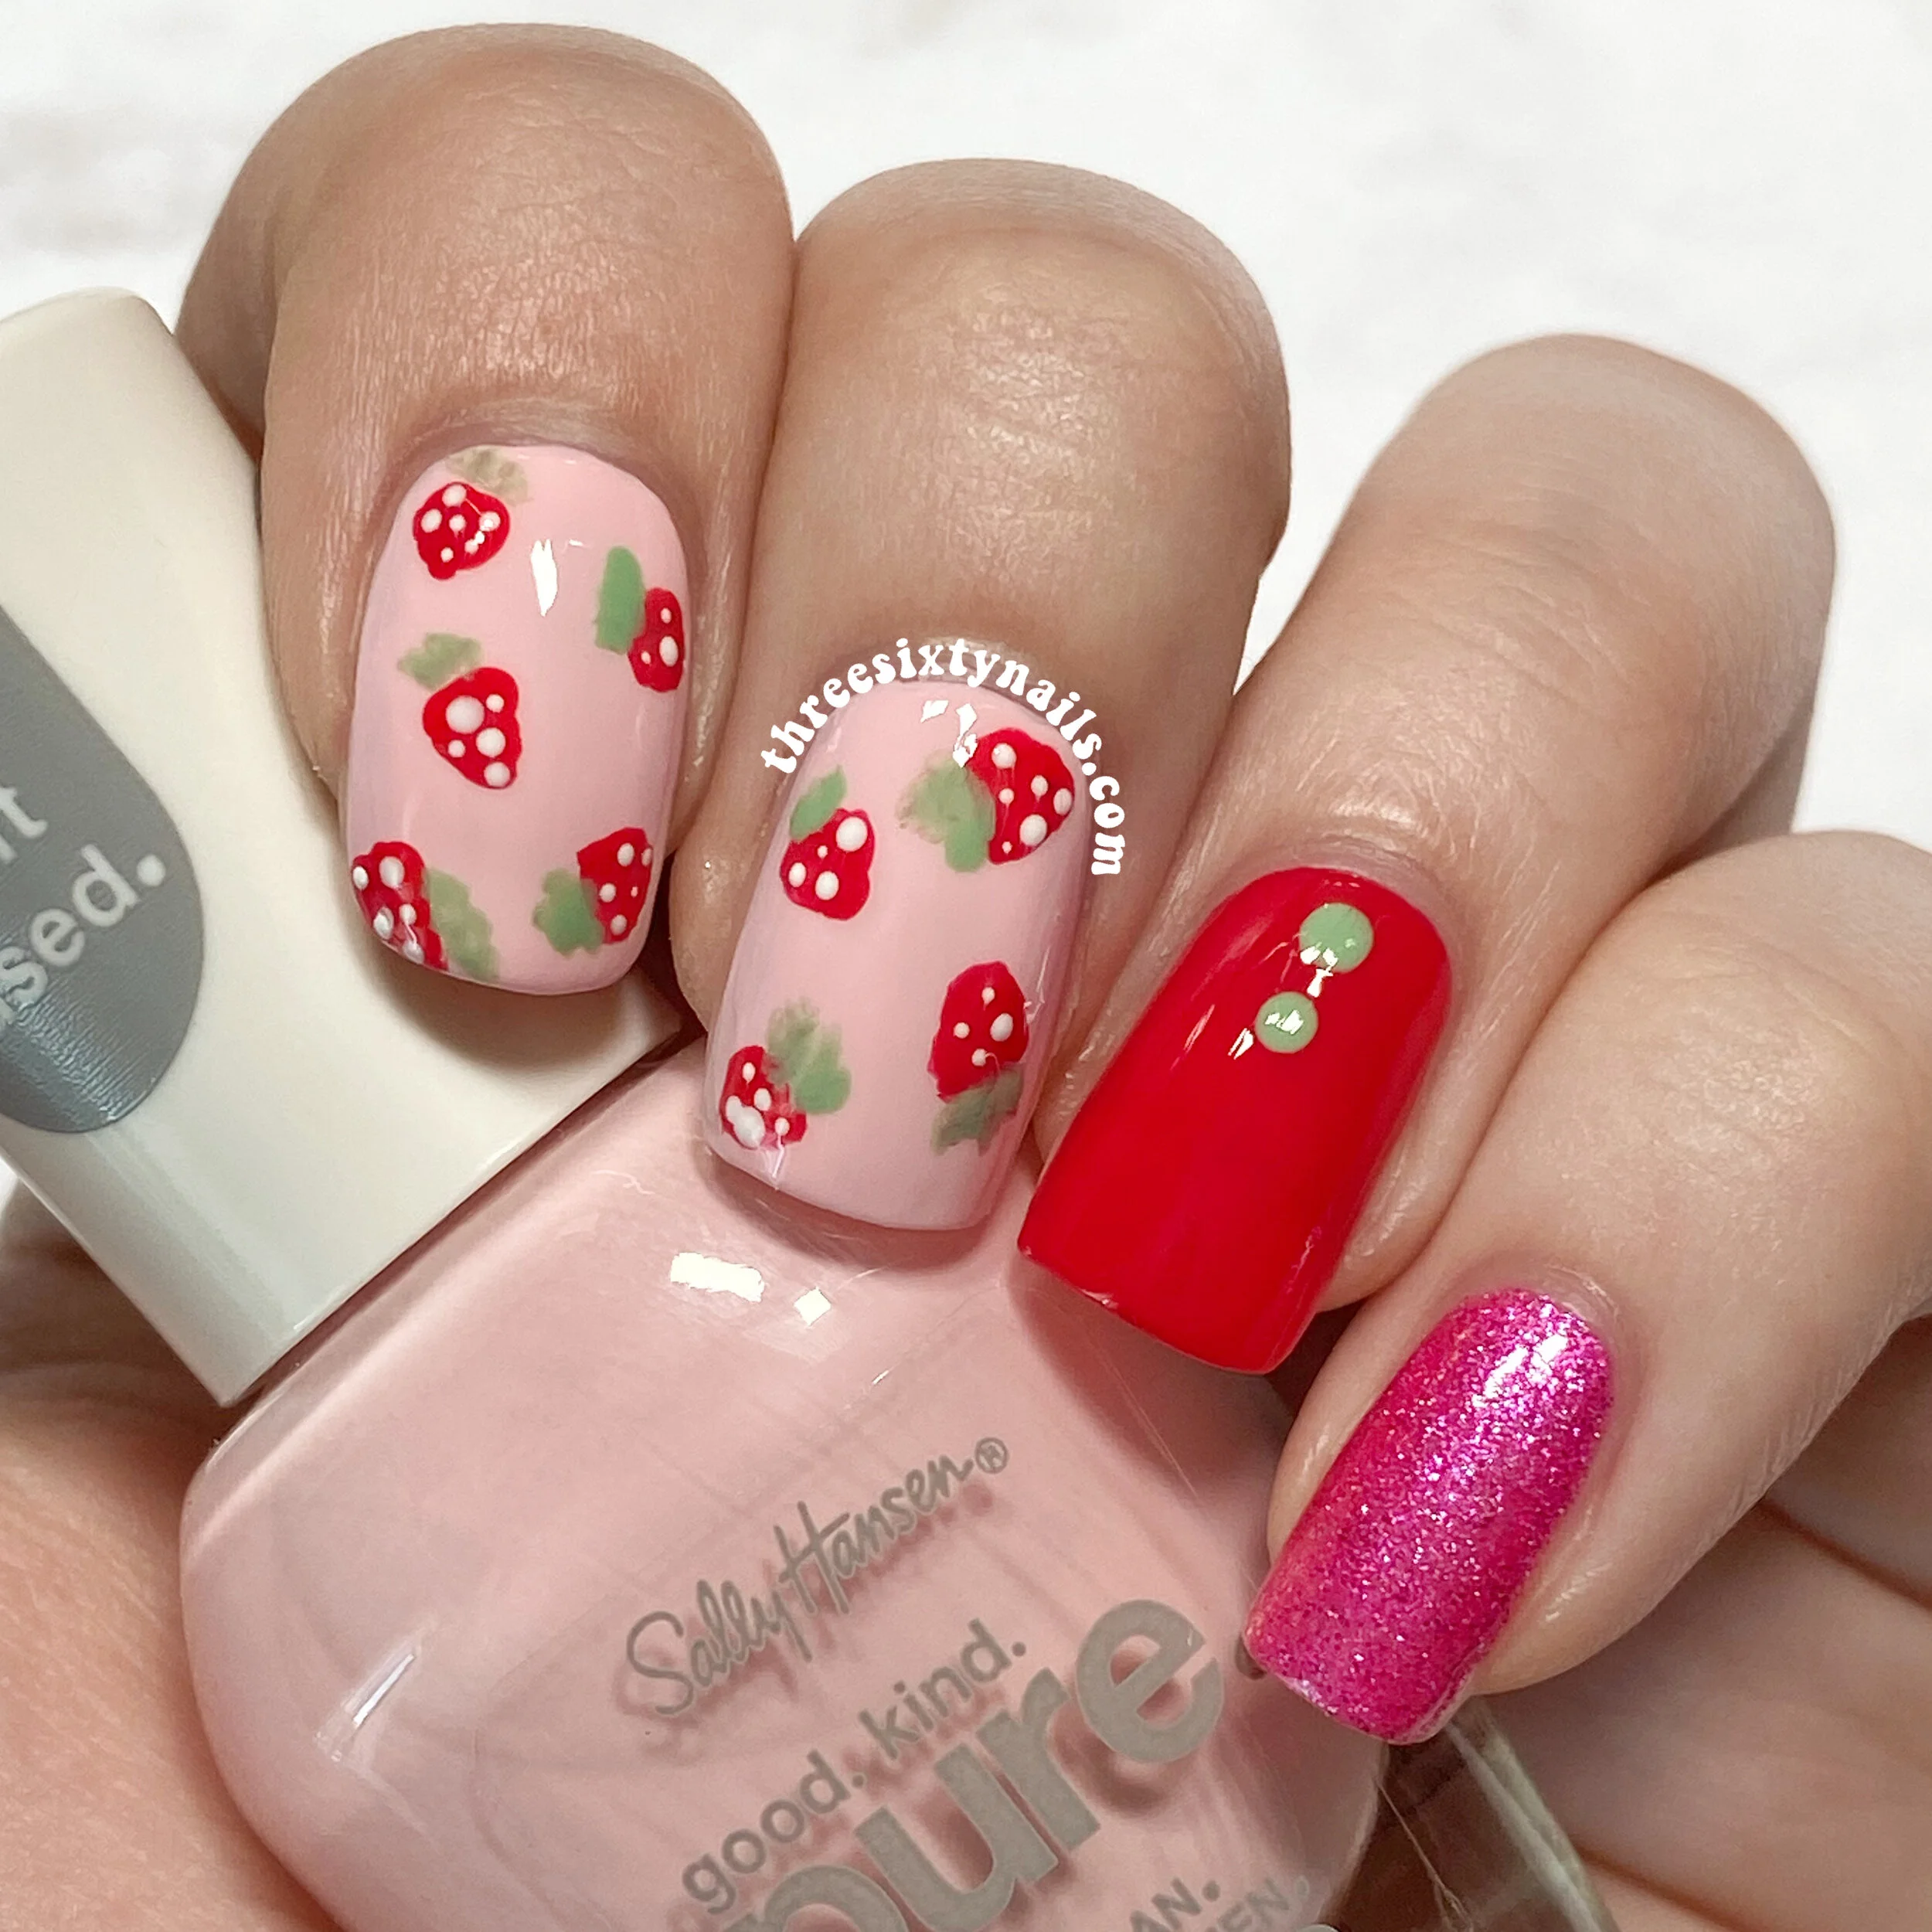
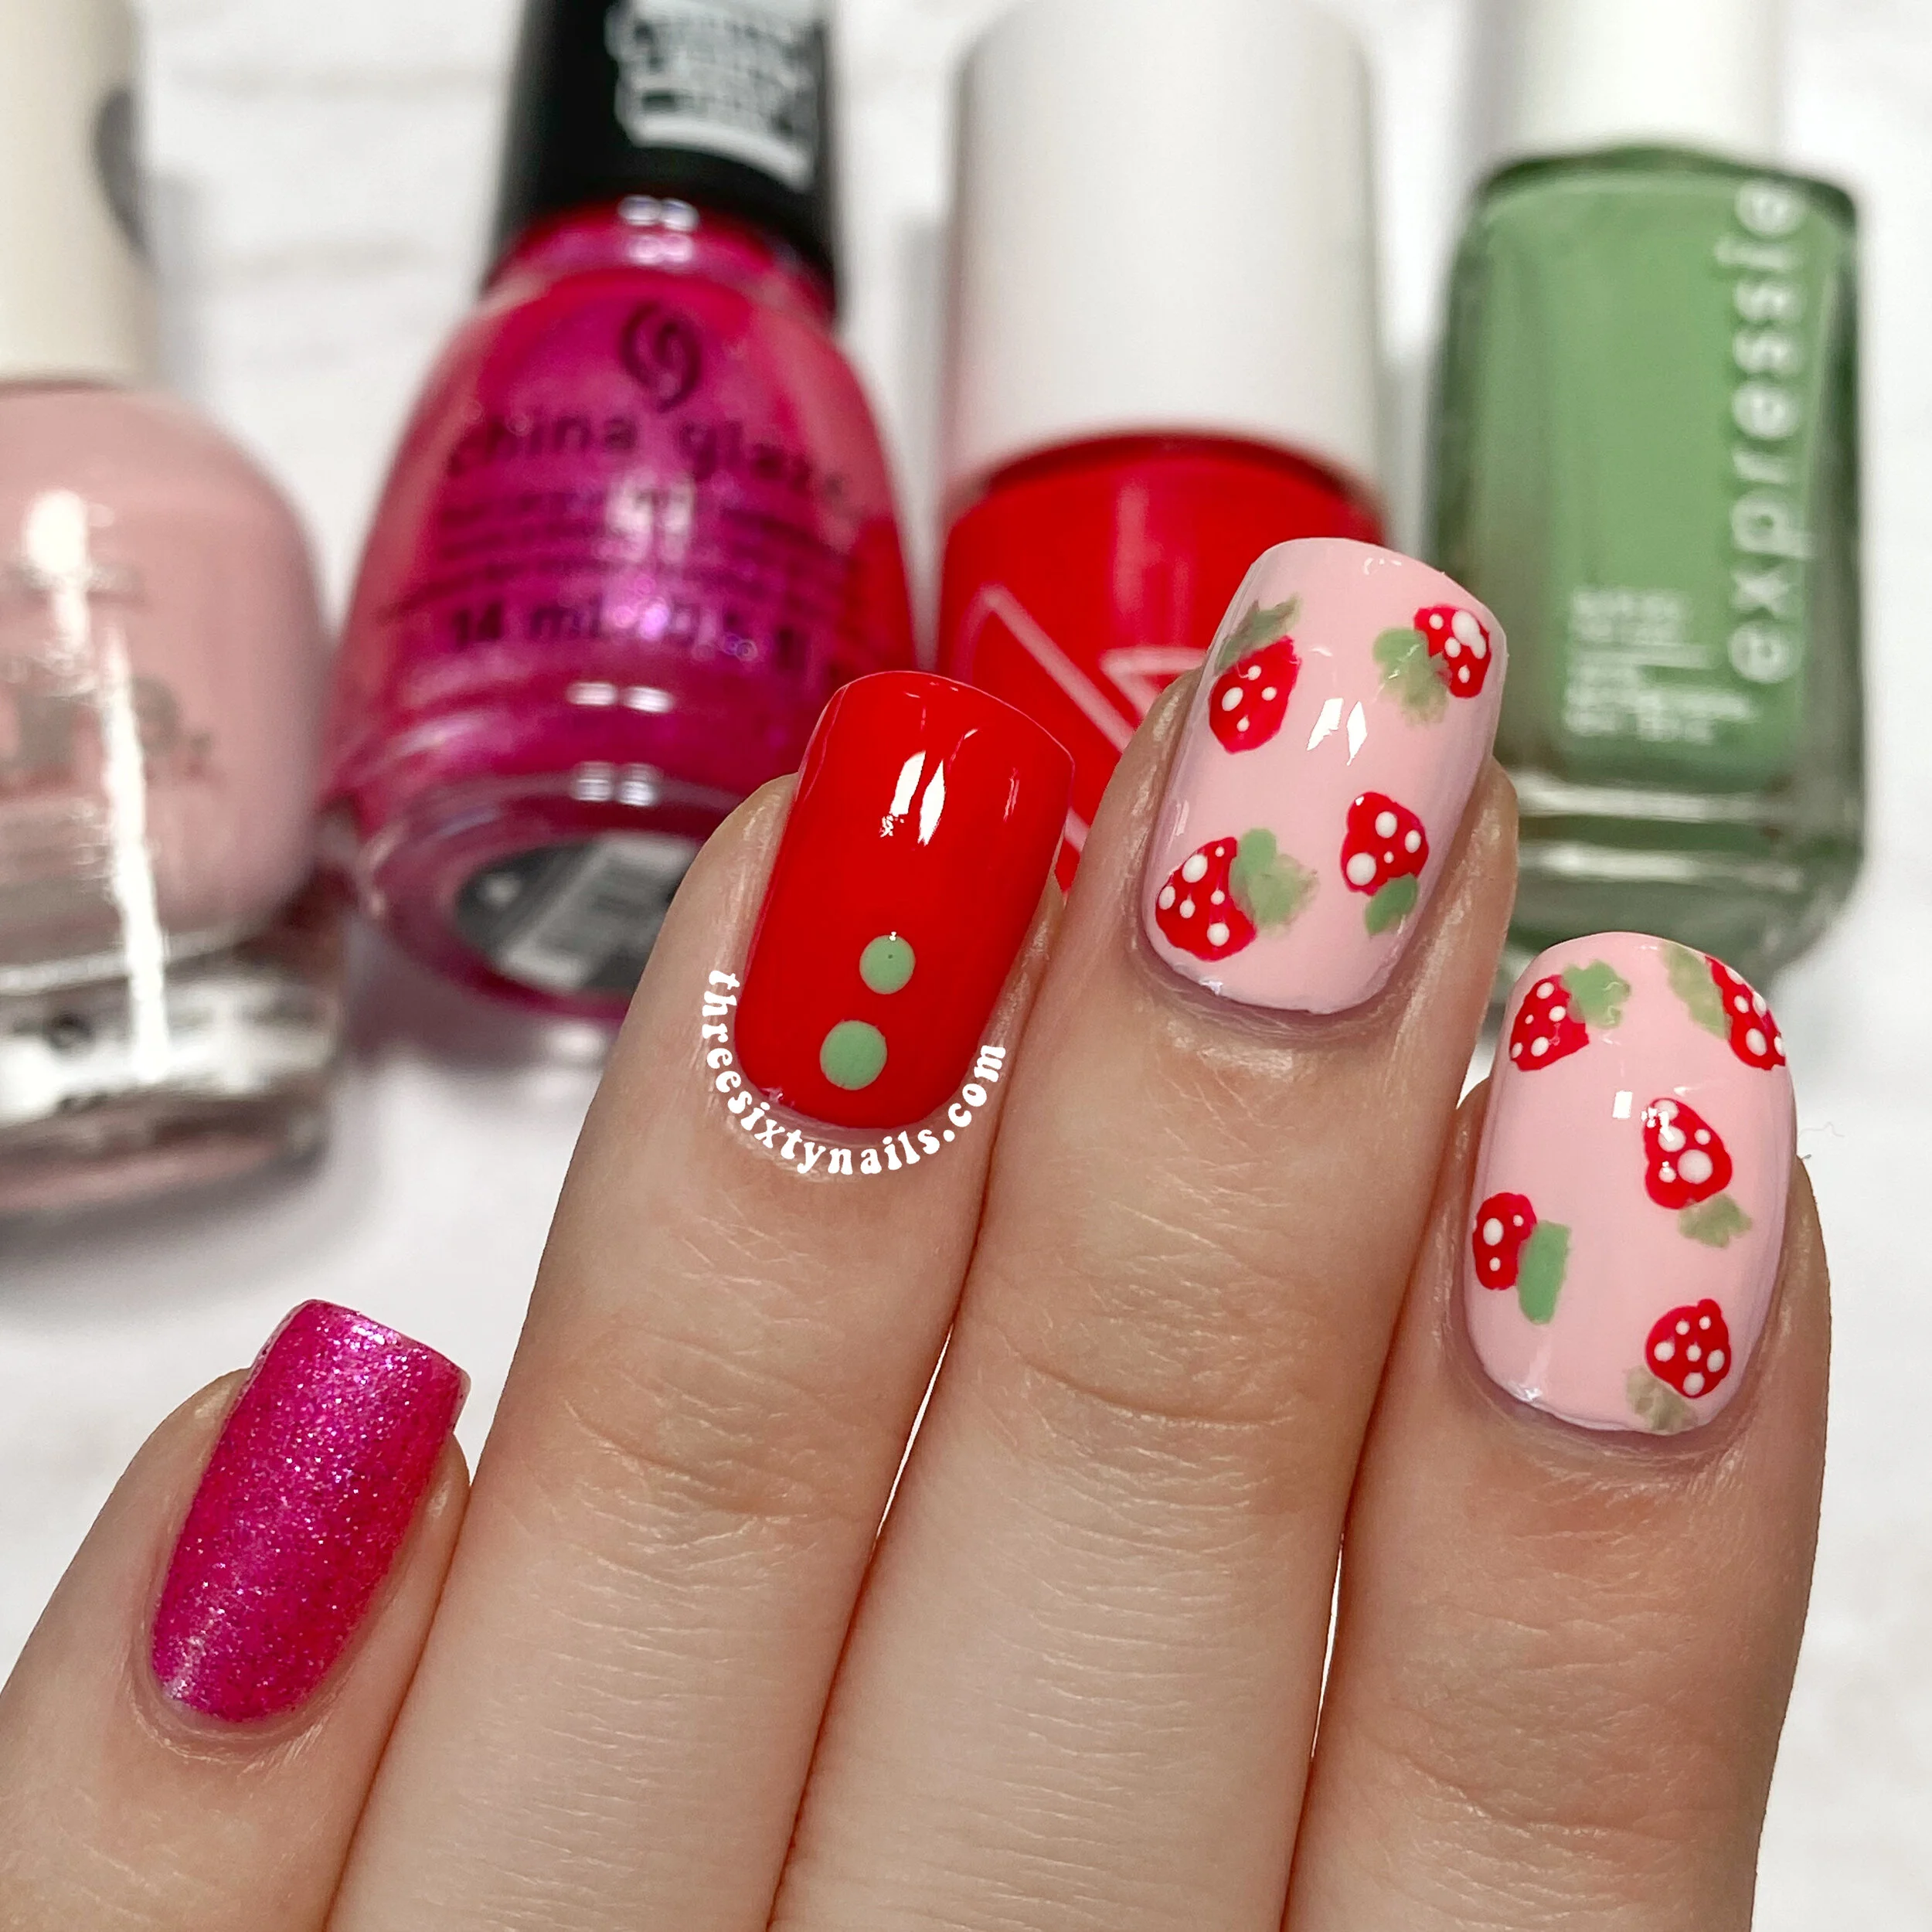
Cute Strawberry Aesthetic Nail Art
As I mentioned in my recent peach nail art post, another aesthetic I’ve been SO obsessed with recently is the cute/pink/pastel strawberry look! It was my bujo theme for June and this same pattern graced a recent pottery project of mine. So here’s a mani to match!
I love the colors in this mani! I turned out exactly how I pictured it. It reminds me very much of the strawberry pattern cushions I added to a strawberry garden on my Animal Crossing New Horizons recently! This design was easy to create and pretty quick since I only put the design on two of my nails. Highly recommend this mani idea if you’re short on time and want something a little detailed!
This mani is also a part of another HUGE collab on Instagram, so you can check out that post over on my account @threesixtynails.
Just like my peach mani from last week, you can totally change up this design to be as minimal or as detailed as you want, so it’s great for all skill levels! So, as usual, below you’ll find a product list for this one with Amazon aff. links, as well as a cute video tutorial and a quick step-by-step for this mani. I hope you enjoy!
Products used in this mani
“XOXO” by Olive & June (g) *use my ref. link for $10 off your first order of $50: http://fbuy.me/v/threesixtynails
“Pink-in-Poppy” by China Glaze
“HD” by Olive & June *use my ref. link for $10 off your first order of $50: http://fbuy.me/v/threesixtynails
(!) Polishes in this post contain Acetyl Tributyl Citrate and Ferric Ammonium Ferrocyanide. Please visit my Journey to “Less-Toxic” Nail Polish page to learn more.
P.S. I LOVE this thumbnail!! It turned out sooo cute! :)
Nail art tutorial:
Step 1: After base coat, apply two coats of light pink polish to your pointer and middle nails. Apply two coats of a strawberry pink/red polish to your ring nail and two coats of a sparkly pink polish to your pinky nail. Let all your nails dry for 2-5 minutes between coats and then 2-5 minutes before moving on to the next steps.
Step 2: Once your base colors are fully dry, go in with a dotting tool, bobby pin, or toothpick and your strawberry pink/red polish to create strawberries on your nails. Draw on two to three chubby triangle shapes on your pointer and middle nails to start.
Step 3: Using that same nail art tool or a detailing nail art brush if you have, go in with your light green polish and add calyx/leaves to each strawberry. If you don’t have a detailing nail art brush, you can also wipe most of the polish of the brush from your green one and just dab it onto your nails very gently.
Step 4: (optional) Once your strawberries are dry, go in very gently with your nail art tool and add a couple teeny-tiny dots to each strawberry to make the seeds. This step is optional if your tool is too big or your strawberries are on the smaller side.
Step 5: Add two green dots to your ring nail near your cuticle.
Step 6: After letting all of your nails dry for 2-7 minutes, apply top coat to protect your sweet designs. Let this dry fully and your mani is complete!
I really enjoyed creating this mani. You’ll definitely be seeing some more strawberry/pink aesthetic nails from me soon. If you give this design a try, then definitely share on your Instagram with #tsninspo so I can see and share it with our community. Seeing your beautiful manis is always such a joy!
What’s your favorite aesthetic right now? Leave a comment below!
P.S. Happy 4th of July to all of our US Polished People! I hope you have a fun and safe holiday!
Have a polished rest of your day,

