Adorable Polar Bear Nail Art + My 5-Year Blogiversary!
I’ve been a little uninspired to create new nail art designs, so I decided to go back to my roots with a cute character design!
**This post is not sponsored. All opinions are my own. Some of these polishes were gifted to me. I will receive a small commission from any sales made through my affiliate link but at no additional charge to you. Thank you for your support!**
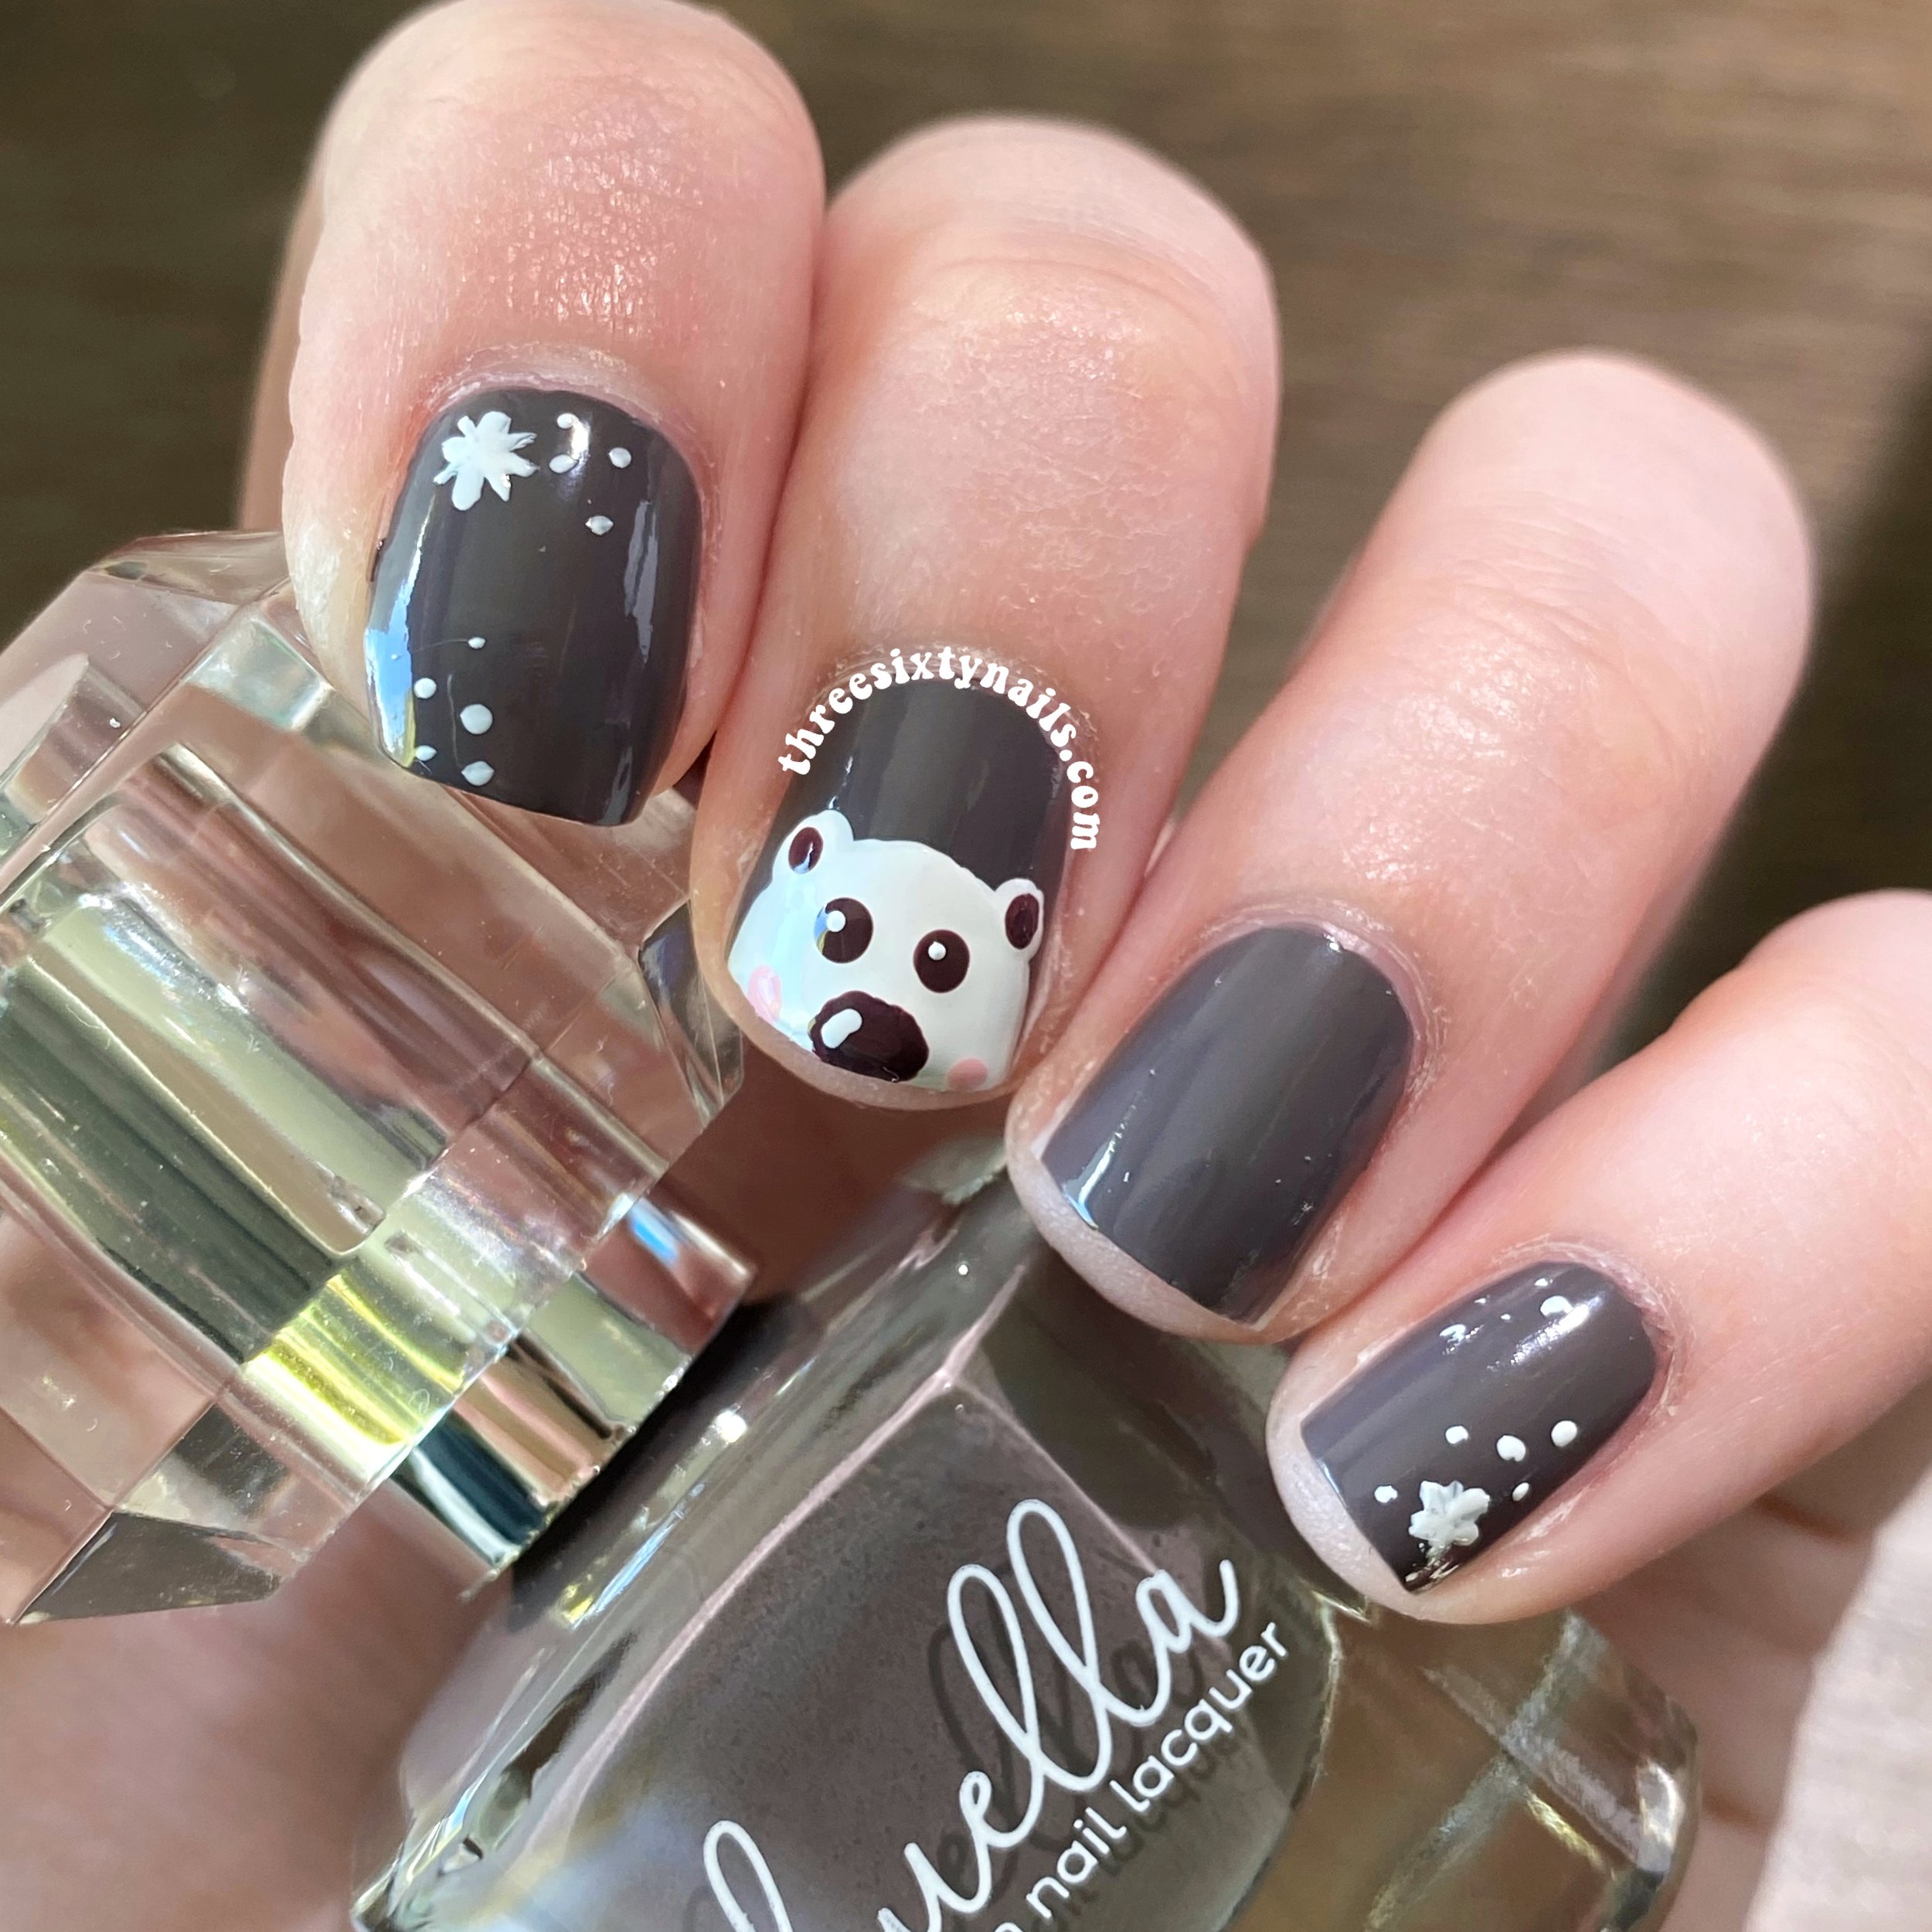
I loooove how this little guy turned out! His little face makes me so happy! 😍 And it was pretty easy to do.
As usual, below you’ll find a product list for this one featuring the polishes I used, as well as a quick step-by-step for you. Enjoy!
Products used in this mani
“HD” by Olive & June
“Pink Sands” by Sally Hansen
A mix of polishes to create a dark brown
Detailing Nail Art Brush (or toothpick)
Dotting Tool (or bobby pin)
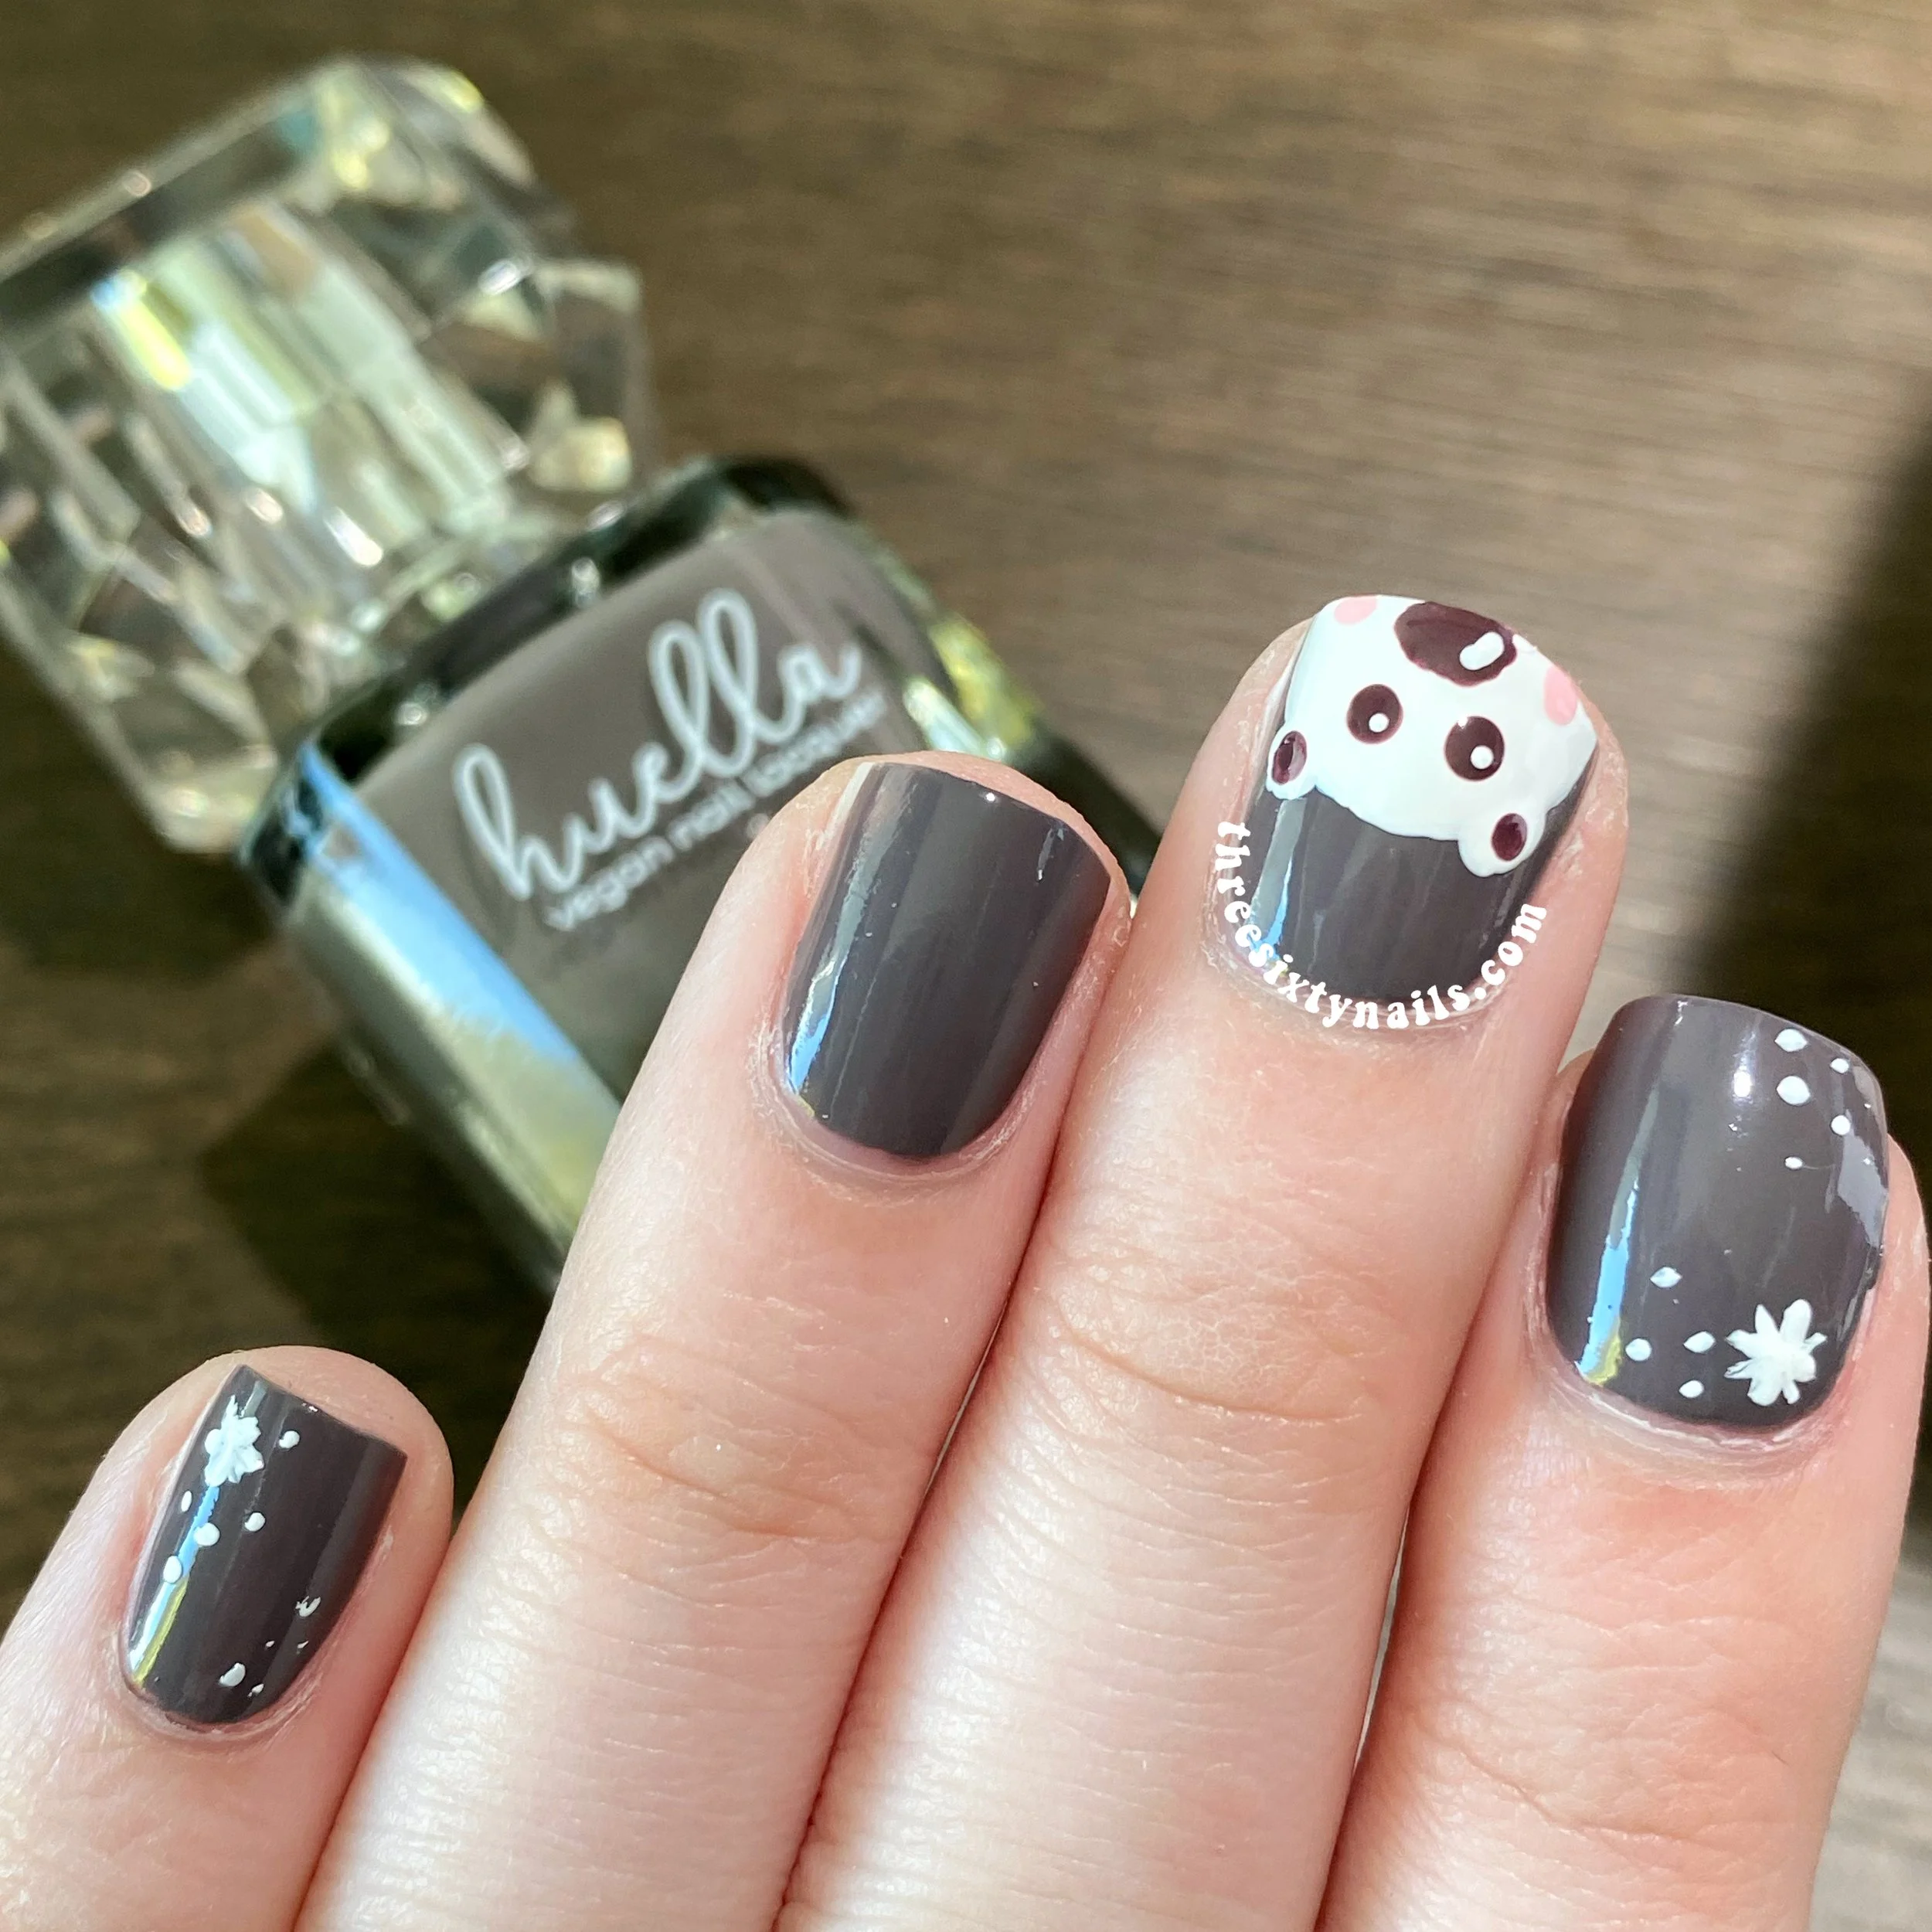
For these Huella polishes, you can use my code “threesixtynails” for 10% off!
(!) Polishes in this post contain/may contain: Acetyl Tributyl Citrate, Aluminum Powder, Ferric Ammonium Ferrocyanide, and Ferric Ferrocyanide. Please visit my Journey to “Less-Toxic” Nail Polish page to learn more.
Nail art tutorial:
Step 1: After base coat, apply two coats of a neutral gray or taupe polish to all your nails. Let all your nails dry for 2-5 minutes between coats and then 2-5 minutes before moving on to the next step.
Step 2: Once your base colors are fully dry, make a half-circle shape with the brush of a white polish on your middle nail. Add two small half-circles to the top of the circle for ears. Feel free to look at a reference illustration for this! Let dry for 2-5 minutes and add a second coat of white if needed.
Step 3: Once your polar bear’s main shape is dry, use a bobby pin or dotting tool and dark brown (or black) polish to create a large oval nose toward the edge of your nail. Add two small dots on either side above it for the eyes. Add two more dots in the center of each ear. Let dry 2-5 minutes.
Step 4: Using a bobby pin, toothpick, or dotting tool and light pink nail polish, add two pink cheeks beside the nose.
Step 5: Once your brown or black details are dry, add a line of white shine on the nose and a shine dot in each eye.
Step 6: On your ring and pink fingers, add a border of white asterisk shapes and dots for snowflakes or add a few to a corner of your nail.
Step 7: After letting all of your nails dry for 2-7 minutes, apply top coat to protect your cool nail designs. Let this dry fully and your mani is complete!
I absolutely adore how this mani turned out! If you give any of this design a try, then definitely share on your Instagram with #tsninspo so I can see and share it with our community. Seeing your beautiful manis is always such a joy!
What should we name this little polar bear? Comment below!
I also wanted to share that today marks five years of threesixtynails! I can’t believe how time has flown by, and what a fun journey it’s been. I wanted to say a huge thank you to you for all your support over these last few years and I hope you’ve enjoyed all the manis and content throughout. I love sharing my nail art and other creative adventures with you, so thanks for coming along for the ride. I can’t wait to see where God takes threesixtynails in the future! 💛
Have a polished rest of your day,